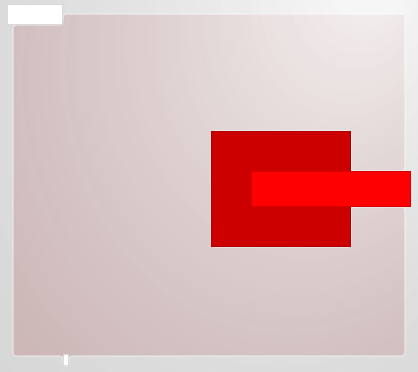
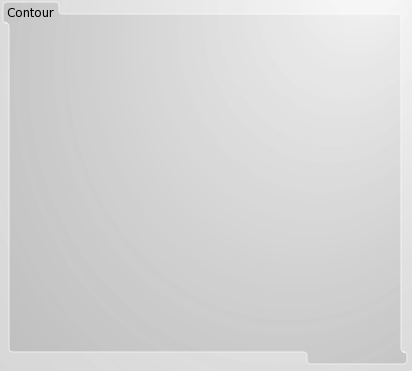
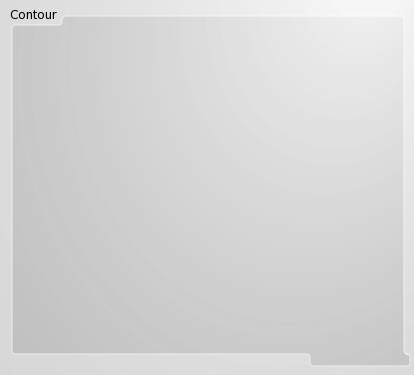
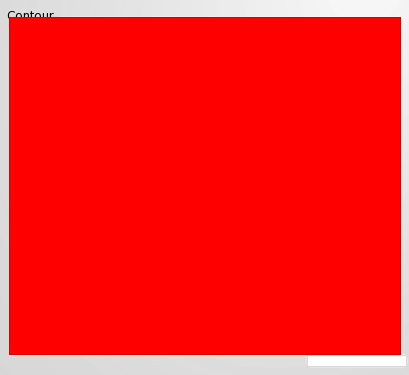
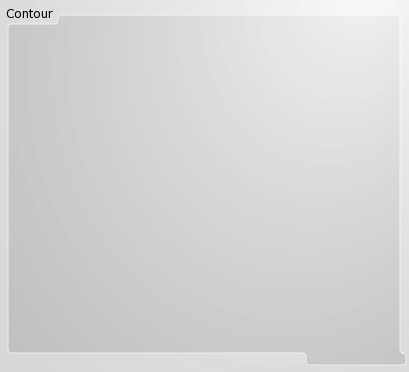
A Contour is a combination of overlapping background frames. A Contour features the same Option Database entries a background frame does.
Contours are grouped by using curly braces around their items. The group leader defines the appearance of the entire contour. The Option Database entries are retrieved for the leader and applied on the composed shape.
Custom Contours, Version 1.1
Custom contours are possible, starting with version 1.1. Two predefined contour types are shipped with Gstripes
quadratic
The standard, rounded contour.
splines
Introduced with version 1.1, requires tclspline.
Example 6.5. Custom Contour Signature
proc myContour {points leader {radius 0}} {... }Using the custom contour:
option add *leader.contour myContour
Punching Holes
The contour »leader« can be used to identify hollow contours . Each hole is defined as a custom contour and the calculated path definition stored –inside the Option Database for example. The custom outer contour then queries for the inner holes and appends the former path definitions as sub pathes to its own path definition. The custom contours may use »quadratic« and »splines« directly to calculating the path definition.
Example 6.6. Custom Contour Inner Contour
proc mychole { points innerframe radius } {

   set subpath \
            [gstripes::contour::quadratic \
              $points $innerframe $radius]
   option add [string trim $innerframe .].subpath \
       $subpath

   return $subpath
}
Example 6.7. Custom Hollow Contour
proc mychollowed { points outerframe radius } {

   set path \
            [gstripes::contour::quadratic \
              $points $outerframe $radius]

   append path " " \
            [option get .my.inner.frame subpath {}]

   return $path
}
Example 6.8. Contours
# A two item contour using addition:
gstripes::hijackwindow .mywindow.stripes \
      {.mywindow.lead .mywindow.follow}
gstripes::hijackwindow .mywindow.stripes \
      {.mywindow.lead + .mywindow.follow}

# A three item contour using substraction:
gstripes::hijackwindow .mywindow.stripes {
   .mywindow.lead -
   .mywindow.follow
   .mywindow.follow2
}

gstripes::hijackwindow .mywindow.stripes {
   .mywindow.lead -
   .mywindow.follow -
   .mywindow.follow2
}

# A three item contour using
# substraction and addition :
gstripes::hijackwindow .mywindow.stripes {
   .mywindow.lead -
   .mywindow.follow +
   .mywindow.follow2
}
The »+« and »-« symbols signify the method with which the following frames are integrated in the contour. »+« and »-« extend or reduce the contour respectively.
The contour starts with the leading frame and the second frame will be added or removed from it. Further frames will be applied onto the result of the previous constituted contour.
A Contour is created from all of its frames, and every connection between these frames is considered.
Use Cases Examples
- f1 + f2 + f3
Example: »f3« overlaps with »f2« and »f1«. »f1« is the leader and the »+« method is used. The contour will contain (f1 + f2) + f3.
- f1 + f2 - f3
Example: »f3« overlaps with »f2« and »f1«. The contour will contain (f1 + f2) - f3.
The resulting contour must not contain any holes. Instead use custom contours to create contours with holes.
Touching windows are considered for building a contour, inside neighboring grid cells for example.
Every contour is dynamically created from its constituting windows. The »stroke« property in TkPath objects is drawn on the edge of a figure. This means that a contour featuring a border, will be half the border size larger; in each direction than the windows from which it was created.
Make sure that the contour items have the same toplevel window as their ancestor. Gstripes corrects the placement of a contour, in situations were Gstripes is foreign to the windows constituting the contour. The contour leader coordinates are being used for this correction.
The contour is recreated during any resize event. The contour itself thus changes in response to every resize event. This might lead to invalid contour definitions (which can’t be handled properly by Gstripes).
I recommend to design the contour for the smallest possible dialog size.

